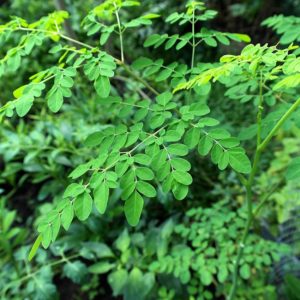
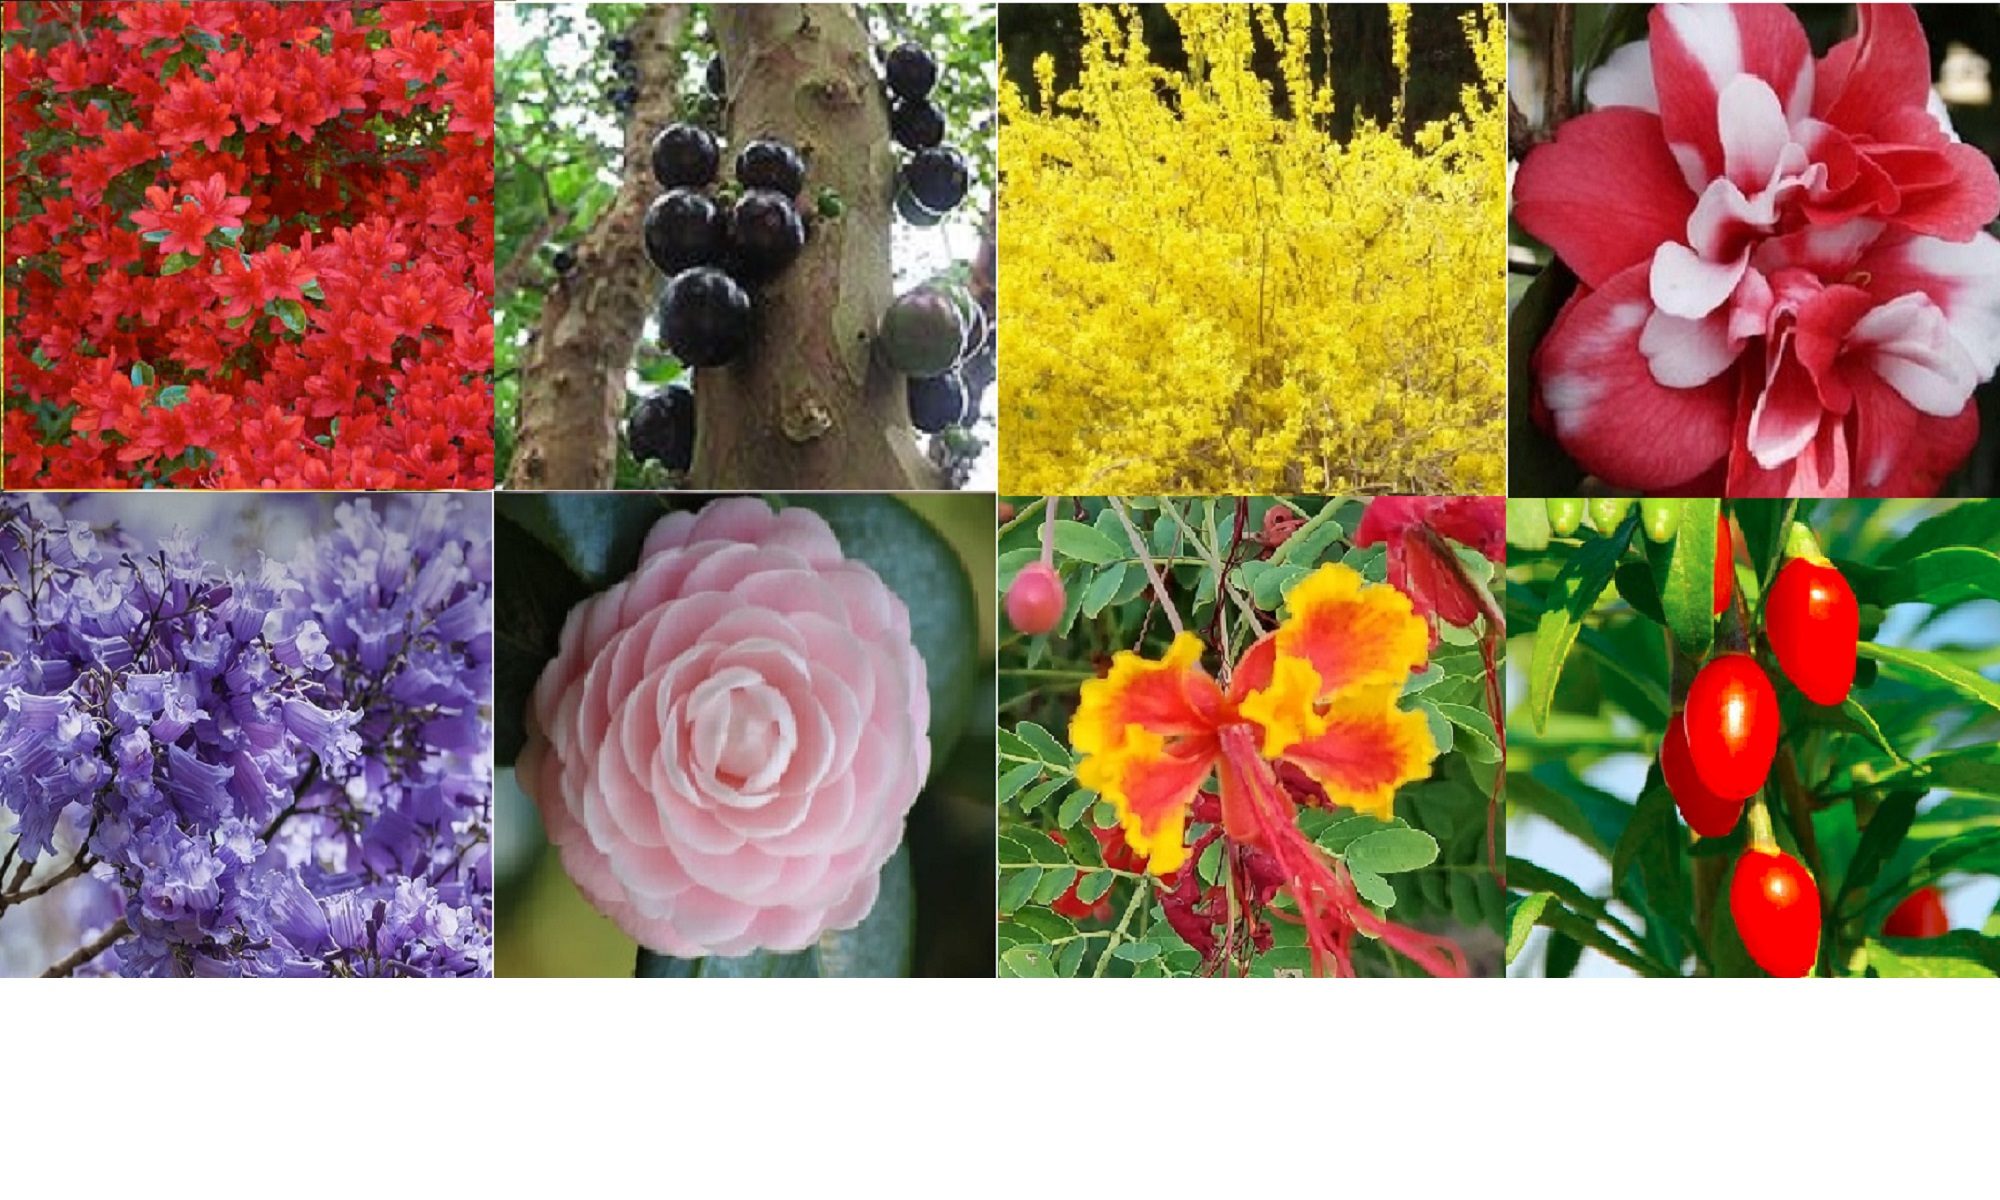
 Herb, rare and exotic tropical plants received from ExoticGrower Company / AdeniumRose Company LLC where grown in a tropical southeast Florida environment. Depending upon the actual plant variety the plants were either grown under shade house (70% sun) or out in the 100% open area in containers. SE Florida has very harsh humidity and strong sun radiation. The young plants a shade house is critical to protect them from too much sun and heat.
Check your growing environment to see if you can grow the tropical Plants, exotic or herbs in the ground or if they need containers. Many plants offered require protection from cold weather or extreme heat. Also, check to see how much sun or shade a plants can handle.
Planting Herb and Tropical Plants
In ground Planting: Dig a hole at least 1 ft by 1 ft. If you are planting a larger plant (larger root system) make the hole at least twice the size of the root system. Back fill the tropical Plants 25% of the hole with good compost or even manure mixture. Check the internet for the proper soil mix for you type of plant.
If a herb, fruit or similar plant then use a good airy rich soil or compost when your do the actual plant planting. Stay away from moss based mixes or ones that develop a top crust. Again check the proper soil type for your plant.
Container planting: Pick a pot at least twice the size of the plants root system. Clay pots and pots with holes are better to control moisture, root breathing and heat. The roots need air to grow well and survive.
Fill the bottom and sides of the pot with the soil you plan to use. Good compost or even manure mixture works great with m most herb plants. Then plant the tree using a good airy potting soil or more compost depending upon the type of plant. Stay away from moss based mixes if possible. We prefer Coir based mixes.
Planting Herb and tropical Plants Steps:
- If in ground planting water the planting holes one day before planting the small plants.
- Plant the plant in the late afternoon to avoid the hot sun the first day.
- Do not plant the root ball more than 1/2″ below the soil. The roots need to breath. Look at the plants trunk color to see the coloration difference near the soil one. Keep the area that was exposed to the air above the soil!
- If growing in a pot (especially a bonsai pot) then spread out the roots. Try not to damage the roots. We use chop-sticks to separate the root balls so we can gently spread them out. If in ground loosen the roots and spread out a bit.
- Add a root hormone such as Dyna-Gro K-L-N to the water the first 21 days.
- If the plant tends to fall over then add support. Put a stick into the hole and use a twist tie to hold the plant upright. When you insert the support stick try not to damage any roots under the soil! If in a bonsai pot wire down the plant to support it.
- Pack soil around the seedling base lightly.
- Water lightly for the first few days.
- After 30 days add a good fertilizer with micro nutrients such as Dyna-Gro Grow or Dyna-Gro Foliage.
Remember these are good general planting instructions. Not all plants grow the same. If you are not sure check the internet more information on soil types and light requirements.

